
Pro T705 Thermostat Installation Manual: Overview
The Pro T705 represents a professional-grade thermostat‚ offering advanced features and precise control. This manual details installation‚ setup‚ and troubleshooting for optimal performance.
Understanding the “Pro” Designation
The “Pro” in T705 signifies a professional-level thermostat‚ exceeding standard models in features and capabilities. Similar to “Pro” designations in smartphones like the iPhone Pro or Xiaomi 15 Pro‚ it indicates a premium offering. This isn’t merely a marketing term; the T705 boasts enhanced precision‚ advanced scheduling options‚ and connectivity features.
Unlike some “Pro” variations simply denoting a larger size (like “Plus” models)‚ the T705’s “Pro” status reflects superior internal components and functionality. It’s designed for users seeking detailed control over their HVAC systems‚ offering capabilities beyond basic temperature regulation. Expect a more robust and feature-rich experience compared to standard thermostat options.
Thermostat Compatibility and System Requirements
The Pro T705 thermostat is designed for compatibility with most standard 24V heating and cooling systems‚ including furnaces‚ air conditioners‚ heat pumps‚ and boilers. However‚ it’s crucial to verify compatibility before installation. Systems requiring millivolt power or proprietary communication protocols may not be supported.
Essential requirements include a common wire (C-wire) for consistent power‚ though workarounds exist for systems lacking one. Ensure your HVAC system isn’t a high-voltage system (110V/220V) as the T705 is not designed for such setups. A stable Wi-Fi connection is needed for smart features. Confirm your system’s wiring configuration before proceeding to avoid potential damage.
Installation Preparation
Before starting‚ gather necessary tools and carefully review this manual. Prioritize safety by disconnecting power to your HVAC system at the breaker box.
Safety Precautions Before Installation
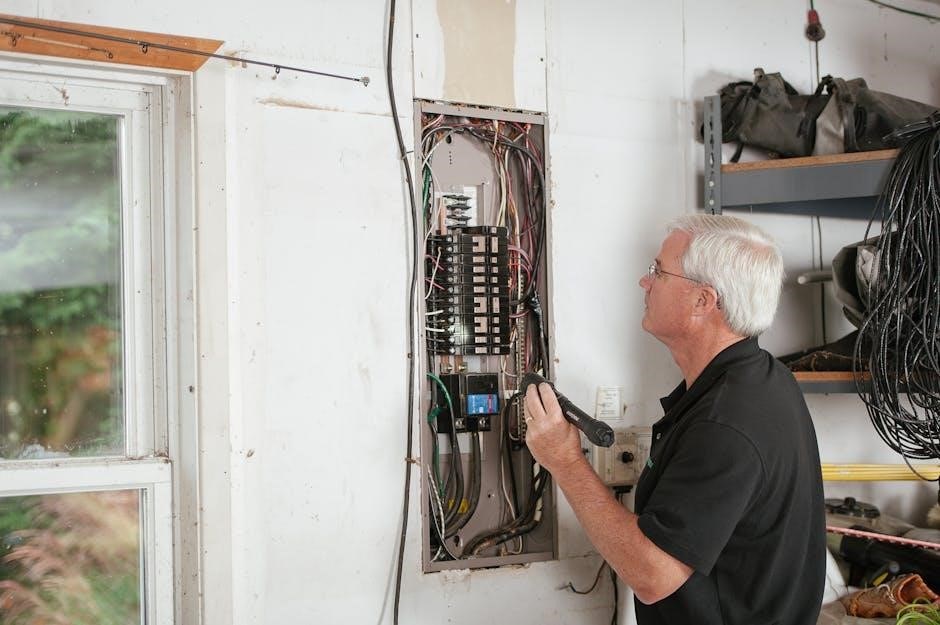
Prior to commencing the installation of your Pro T705 thermostat‚ utmost care and adherence to safety guidelines are paramount. Always disconnect the power supply to your heating‚ ventilation‚ and air conditioning (HVAC) system at the main breaker panel. This crucial step prevents electrical shock and potential damage to the thermostat or HVAC components.
Verify the power is completely off using a non-contact voltage tester. Never work with live wires. If you are uncomfortable or unfamiliar with electrical wiring‚ consult a qualified HVAC technician for assistance. Wear appropriate safety glasses to protect your eyes from debris. Ensure the work area is well-lit and free from obstructions. Read and understand all warnings and cautions outlined in this manual before proceeding.
Tools Required for Installation
Successful installation of the Pro T705 thermostat necessitates a specific set of tools. A Phillips head screwdriver is essential for securing the thermostat and backplate. A flathead screwdriver may be needed for certain wiring connections. Wire strippers are crucial for preparing the HVAC system wires for connection‚ ensuring clean and reliable contact.
A non-contact voltage tester is vital for verifying power is off before handling wires. Pliers can assist with bending and manipulating wires. A level ensures the thermostat is mounted straight for accurate readings and aesthetic appeal. Consider having a drill with appropriate bits for wall mounting‚ depending on your wall material. Finally‚ a digital multimeter can be helpful for troubleshooting‚ though not strictly required.
Identifying System Wiring (HVAC)
Before wiring the Pro T705‚ accurately identifying your HVAC system’s wiring is paramount. Typically‚ you’ll encounter wires labeled R (power)‚ W (heating)‚ Y (cooling)‚ G (fan)‚ and C (common). However‚ labeling can vary‚ so caution is advised. Carefully remove your old thermostat’s faceplate to reveal the wiring.
Document the existing wire connections with a photo or detailed notes. If wires are unlabeled‚ a non-contact voltage tester can help identify the power wire (R). Consult your HVAC system’s documentation for a wiring diagram if available. Incorrect wiring can damage your system or the thermostat‚ so double-check all connections before proceeding. If unsure‚ consult a qualified HVAC technician.
Wiring the T705 Thermostat
Connect the Pro T705 wires according to your system’s configuration. Ensure power is OFF before wiring. Match labels (R‚ W‚ Y‚ G‚ C) for correct operation.
Connecting Power Supply Wires
Begin by identifying the 24VAC power wires‚ typically labeled ‘R’ and ‘C’. The ‘R’ wire provides the power source‚ while the ‘C’ wire completes the circuit – a common wire is crucial for reliable operation. Carefully connect the ‘R’ wire to the designated ‘Rh’ or ‘Rc’ terminal on the T705 thermostat backplate;
If your system utilizes a single ‘R’ wire‚ connect it to ‘Rh’. For dual wire systems‚ consult your HVAC documentation to determine the correct terminal. Securely attach the ‘C’ wire to the ‘C’ terminal. A loose connection can cause intermittent power issues. Double-check all connections before proceeding to the next step‚ ensuring wires are firmly seated in their respective terminals.
Connecting Heating and Cooling Wires
Identify the heating and cooling wires‚ commonly labeled ‘Y’ for cooling‚ ‘W’ for heating‚ and potentially ‘Aux’ or ‘E’ for auxiliary/emergency heat. Connect the ‘Y’ wire to the ‘Y’ terminal on the thermostat backplate‚ enabling cooling functionality. Subsequently‚ connect the ‘W’ wire to the ‘W’ terminal‚ activating the heating system.
If your system includes auxiliary heat‚ connect the ‘Aux’ or ‘E’ wire to the corresponding terminal. Ensure correct wiring based on your HVAC system type (heat pump or conventional). Incorrect connections can lead to improper system operation. Verify all connections are secure before proceeding‚ preventing potential malfunctions and ensuring efficient climate control.
Connecting Fan Wires
Locate the fan wire‚ typically labeled ‘G’‚ and connect it to the ‘G’ terminal on the thermostat backplate. This wire controls the blower fan‚ circulating air throughout your home. Proper connection ensures the fan operates correctly in conjunction with heating and cooling cycles.
For systems with continuous fan operation‚ consult the advanced settings section of this manual to configure the desired fan behavior. Ensure the ‘G’ wire is securely fastened to prevent intermittent fan operation. Double-check the connection before proceeding to the next step‚ guaranteeing reliable airflow and optimal comfort levels within your living space.
Handling Common Wire (C-Wire) Issues
The ‘C-wire’ provides constant power to the thermostat. If absent‚ the T705 may not function correctly. Many older systems lack a C-wire; however‚ a C-wire adapter can often be installed. Consult a qualified HVAC technician for assistance with adapter installation‚ ensuring compatibility with your system.
Alternatively‚ some systems allow repurposing an unused wire as a C-wire at the furnace control board. Do not attempt this without professional guidance. Incorrect wiring can damage your HVAC equipment. If a C-wire cannot be readily provided‚ consider a professional assessment of your system’s power options for reliable thermostat operation.
Mounting the Thermostat
Securely attach the backplate to the wall using provided screws. Then‚ carefully connect the thermostat unit to the mounted backplate for a stable installation.
Attaching the Backplate to the Wall
Begin by ensuring the power to your HVAC system is completely shut off at the breaker. This is a crucial safety step. Position the thermostat backplate on the wall where your old thermostat was located‚ or at a desired new location. Use a level to guarantee a straight installation for aesthetic appeal and accurate readings.
Mark the screw holes with a pencil. Drill pilot holes if necessary‚ especially into harder wall materials like plaster or tile. Utilize the provided screws and wall anchors (if required) to firmly secure the backplate to the wall. Ensure the backplate is flush against the wall surface and doesn’t wobble. A secure backplate is fundamental for a stable and reliable thermostat installation.
Connecting the Thermostat to the Backplate
Carefully align the thermostat body with the mounted backplate. Gently push the thermostat onto the backplate until it clicks securely into place. Ensure all pins and connectors are fully engaged; a loose connection can cause operational issues. Do not force the thermostat – if it doesn’t easily connect‚ re-check the alignment.
Once connected‚ lightly tug on the thermostat to confirm it’s firmly attached to the backplate. A secure connection is vital for both physical stability and proper electrical contact; This step completes the physical installation process‚ preparing the thermostat for power-up and initial configuration. Verify the connection before proceeding.

Initial Setup and Configuration
Power on the T705 and navigate the initial setup screens. Connect to your Wi-Fi network and accurately set the date and time for proper scheduling.
Powering On and Initial Screen Navigation
Upon installation‚ the Pro T705 thermostat will initially display a welcome screen. Press the central control button to power on the device. The screen will then guide you through a series of prompts. Use the up and down arrow buttons to navigate the menu options‚ and the central button to select.
Familiarize yourself with the main screen layout‚ which displays the current temperature‚ setpoint‚ and operating mode. Explore the menu options by pressing the ‘Menu’ button. You’ll find settings for Wi-Fi‚ date/time‚ system configuration‚ and advanced features. The touchscreen interface is designed for intuitive operation‚ allowing for easy adjustments and customization. A brief tutorial will appear on first boot‚ offering a quick overview of key functions.
Connecting to Wi-Fi
To enable smart features‚ connect your Pro T705 thermostat to your home Wi-Fi network. From the main menu‚ navigate to ‘Settings’ and select ‘Wi-Fi’. The thermostat will scan for available networks. Choose your network from the list and enter your password using the on-screen keyboard.
Ensure a strong signal for reliable connectivity. A successful connection will be indicated by a Wi-Fi icon appearing on the main screen. If the connection fails‚ double-check your password and network settings. The thermostat supports 2.4 GHz networks; 5 GHz is not currently supported. Once connected‚ you can access remote control and advanced features through the companion mobile app‚ enhancing convenience and energy management.
Setting Date and Time
Accurate date and time are crucial for scheduling and proper thermostat operation. Access the ‘Date & Time’ settings through the main menu. You can choose to set the date and time manually or enable automatic synchronization via your Wi-Fi connection.
For manual setting‚ use the on-screen controls to adjust the year‚ month‚ day‚ hour‚ and minute. If automatic synchronization is enabled‚ the thermostat will periodically update its time from a network time server. Verify the displayed time after setup. Incorrect time settings can affect programmed schedules and potentially impact energy savings. Regularly check these settings‚ especially after power outages.
Programming and Features
The T705 offers customizable heating/cooling schedules‚ geofencing for automated adjustments‚ and advanced settings for fan control and filter reminders.
Creating Heating and Cooling Schedules
The Pro T705 allows for highly customized heating and cooling schedules‚ optimizing comfort and energy savings. Users can define different temperature settings for various times of the day and days of the week. Access the scheduling menu through the thermostat’s interface‚ and create ‘events’ for each desired temperature change.
For example‚ you might set a lower temperature overnight‚ a comfortable temperature for when you wake up‚ a setback temperature while you’re at work‚ and a cozy temperature for when you return home. The system supports multiple events per day‚ providing granular control. Consider utilizing the ‘Hold’ function for temporary overrides without disrupting the programmed schedule. Experiment with different settings to find the perfect balance between comfort and efficiency.
Utilizing Geofencing Features
The Pro T705’s geofencing capability automatically adjusts the temperature based on your location. This feature requires a stable Wi-Fi connection and the thermostat’s mobile app. Within the app‚ define a virtual ‘geofence’ radius around your home. When your smartphone enters or exits this zone‚ the thermostat responds accordingly.
For instance‚ set the system to ‘Away’ mode when you leave‚ conserving energy‚ and return to a comfortable temperature shortly before you arrive home. Customize geofencing settings to suit your lifestyle‚ adjusting the radius and temperature changes. Ensure location services are enabled on your smartphone for accurate geofencing functionality. Regularly check the app to confirm proper operation and adjust settings as needed.
Exploring Advanced Settings (Fan Control‚ Filters)
The Pro T705 offers granular control through its advanced settings. Fan control allows you to select ‘Auto’ for on-demand operation or ‘On’ for continuous air circulation‚ improving air quality and temperature consistency. Customize fan speed settings for optimal comfort and energy efficiency.
The filter reminder feature tracks filter usage and alerts you when replacement is needed‚ maintaining system performance and indoor air quality. Configure the reminder based on filter type and usage. Explore scheduling options for fan operation‚ creating customized comfort profiles. Access these settings via the thermostat’s touchscreen or the mobile app for convenient adjustments.

Troubleshooting Common Issues
The Pro T705 may encounter issues like power failures or inaccurate readings. This section provides solutions for common problems‚ ensuring optimal thermostat functionality.
Thermostat Not Powering On
If the Pro T705 fails to power on‚ begin by verifying the power supply connection at the breaker box. Ensure the circuit is active and supplying consistent voltage. Next‚ carefully inspect the wiring at the thermostat backplate‚ confirming secure connections for the power wires – typically labeled ‘R’ and ‘C’.
A missing or improperly connected ‘C-wire’ (common wire) is a frequent cause of power issues. If a C-wire isn’t present‚ consider utilizing a C-wire adapter‚ following the adapter’s specific installation instructions. Double-check the thermostat’s fuse (if applicable) and replace it if blown. Finally‚ confirm the backplate is firmly attached to the wall and properly aligned‚ as a loose connection can interrupt power flow.
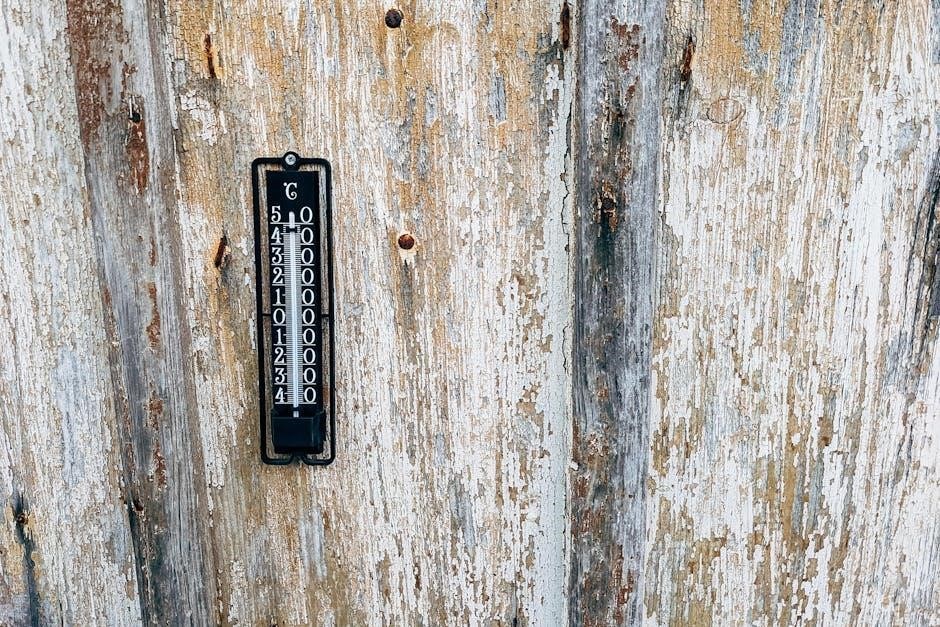
Incorrect Temperature Readings
If the Pro T705 displays inaccurate temperature readings‚ first verify the thermostat’s location isn’t affected by direct sunlight‚ drafts‚ or heat-generating appliances. These external factors can significantly skew temperature sensing. Next‚ check for obstructions blocking the thermostat’s internal temperature sensor. Ensure proper airflow around the device.
Calibrate the thermostat through the settings menu; the manual details the calibration procedure. Confirm the thermostat’s temperature scale (Celsius or Fahrenheit) is set correctly. If issues persist‚ temporarily disconnect and reconnect the thermostat to the backplate to reset the sensor. If the problem continues‚ a faulty temperature sensor may require professional service or thermostat replacement.
Warranty Information and Support
The Pro T705 thermostat is covered by a two-year limited warranty against manufacturing defects‚ starting from the date of purchase. This warranty covers component failures under normal use. Damage resulting from improper installation‚ misuse‚ or unauthorized modifications is not covered.
For warranty claims‚ retain your proof of purchase and contact our dedicated support team. Technical assistance is available via phone‚ email‚ and our comprehensive online knowledge base at [insert website address here]. Our support team can guide you through troubleshooting steps and warranty procedures. We also offer a library of FAQs and instructional videos to assist with common issues.
