Nintendo Switch Afterglow Wireless Controller Manual: A Comprehensive Guide
Welcome! This guide details the PDP Afterglow Wireless Controller for Nintendo Switch, covering setup, features, and troubleshooting. Explore customizable LED lighting and enhanced gaming experiences.
The PDP Afterglow Wireless Controller is designed to elevate your Nintendo Switch gaming experience, offering a blend of functionality and visual flair. This controller isn’t just about input; it’s about immersion. Featuring fully customizable prismatic LED lighting, the Afterglow allows you to personalize your gameplay with a dynamic light show.
Unlike standard controllers, the Afterglow boasts a transparent casing, showcasing the internal components and the vibrant LED effects. Gamers can cycle through a rainbow of colors or select a static hue to match their mood or game. Beyond aesthetics, the controller provides a comfortable grip and responsive buttons, ensuring precise control during intense gaming sessions.
This manual serves as a comprehensive guide to unlocking the full potential of your Afterglow Wireless Controller. We’ll cover everything from initial setup and pairing to advanced features like button mapping and turbo functionality. Whether you’re a casual player or a competitive gamer, this guide will help you maximize your enjoyment. The Afterglow is compatible with both the original Nintendo Switch and the Switch OLED model.
Understanding the Controller Features
The Afterglow Wireless Controller for Nintendo Switch is packed with features designed to enhance your gameplay. Key among these is the prismatic LED lighting, offering a full color range and customizable effects. The transparent casing allows the vibrant lighting to shine through, creating a visually stunning experience.
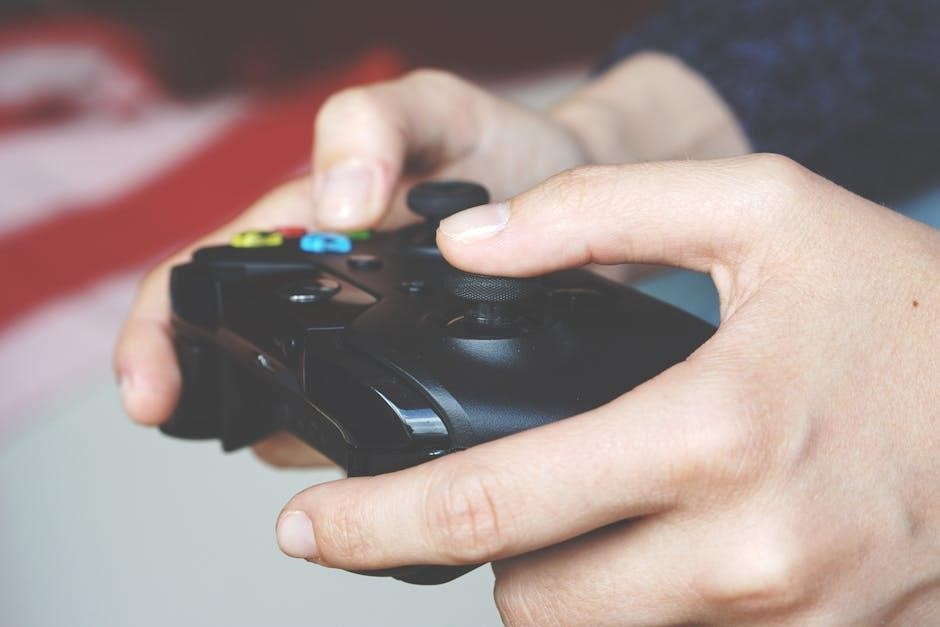
Beyond the aesthetics, the controller includes standard Nintendo Switch buttons – including left and right bumpers, Xbox button, view, and menu – ensuring compatibility with all your favorite games. It also features turbo functionality, allowing for rapid button presses with a single hold, ideal for fast-paced action games.
Furthermore, the Afterglow supports motion controls and gyroscope functionality, enabling immersive gameplay in compatible titles. The controller’s ergonomic design provides a comfortable grip, even during extended gaming sessions. It connects wirelessly to your Switch, offering freedom of movement, and includes a low battery indicator to prevent interruptions. The status LED provides vital information regarding connection and battery life.

Package Contents & Initial Setup
Upon opening your Afterglow Wireless Controller package, please verify that all components are present. You should find the Afterglow Wireless Controller itself, a USB charging cable, and this comprehensive user manual. Carefully inspect the controller for any visible damage that may have occurred during shipping.
Initial setup is straightforward: First, fully charge the controller using the included USB cable. Connect one end to the controller and the other to a powered USB port on your Nintendo Switch dock or a USB power adapter. A solid LED indicator signifies a full charge.
Before pairing, ensure your Nintendo Switch is in the HOME Menu. The controller doesn’t require any software installation; it’s designed for plug-and-play functionality. Familiarize yourself with the button layout – including the left and right bumpers – and the location of the status LED. Refer to the diagrams within this manual for a clear visual guide.
Pairing the Controller with Nintendo Switch
To pair your Afterglow Wireless Controller with your Nintendo Switch, navigate to the “Controllers” section within the HOME Menu. Select “Change Grip/Order.” Press and hold the SYNC button located on the top of the controller for three seconds. The status LED will begin flashing rapidly, indicating it’s in pairing mode.

Your Nintendo Switch will now scan for available controllers. Once detected, the Afterglow controller will appear on the screen. Select the controller icon to complete the pairing process. The status LED will transition to a solid color, confirming a successful connection.
If pairing fails, ensure the controller is sufficiently charged and no other wireless devices are interfering. Repeat the SYNC button process. You can also try restarting your Nintendo Switch. Once paired, the controller will automatically reconnect when powered on and within range of the console. Remember to assign a player number for gameplay!
Charging the Afterglow Wireless Controller
The Afterglow Wireless Controller is equipped with a built-in rechargeable battery. To charge, connect the included USB cable to the controller’s USB-C port and a powered USB source – this could be your Nintendo Switch dock, a computer, or a USB wall adapter.
While charging, the status LED will pulse slowly. A full charge typically takes approximately 2-3 hours. Once fully charged, the LED will illuminate steadily, indicating the controller is ready for use. Disconnect the USB cable after charging is complete.
You can continue to use the controller while it’s charging, allowing for uninterrupted gameplay. Avoid using the controller while it’s exposed to extreme temperatures or moisture. Regularly charging the controller will ensure optimal performance and extend the battery’s lifespan. A low battery will be indicated by a flashing red LED.
LED Lighting Customization
The Afterglow Wireless Controller boasts fully customizable Prismatic LED lighting, allowing you to personalize your gaming experience. The controller features a light pipe design, enhancing the visual effects. To adjust the lighting, use the dedicated Prismatic button on the front of the controller.
Pressing the Prismatic button cycles through various pre-set lighting modes, including a rainbow cycle, static colors, and breathing effects. You can also dim or brighten the LEDs to your preference; Experiment with different settings to find the perfect illumination for your gameplay environment.
The LED lighting is not merely aesthetic; it can also provide visual feedback during gameplay. The status LED indicates battery level and pairing status. Enjoy the immersive light show created by your Afterglow controller, adding a unique dimension to your Nintendo Switch gaming sessions!
Prismatic Lighting Effects Explained
The Afterglow Wireless Controller’s Prismatic lighting offers a spectrum of effects. The Rainbow Cycle smoothly transitions through all colors of the spectrum, creating a vibrant, dynamic display. Static Color allows you to select and lock onto a single, preferred color for consistent illumination.
Breathing Effect gently pulses the selected color, mimicking a breathing pattern for a subtle, atmospheric glow. The Program Status LED indicates the currently active lighting mode. Further customization is possible through brightness adjustments (see section 8).
The light pipe design enhances these effects, diffusing the LEDs’ glow for a more immersive experience. Experiment with each mode to discover your favorite! Remember, the Prismatic button is your key to cycling through these options. Enjoy the visual spectacle and personalize your gaming setup with the Afterglow’s unique lighting capabilities.
Adjusting LED Brightness Levels
The Afterglow Wireless Controller allows for precise control over LED brightness, ensuring optimal visibility in any environment. To adjust the brightness, locate the dedicated brightness control buttons on the controller’s face. Pressing the “+” button increases the brightness, while the “-” button decreases it.
The controller features multiple brightness levels, ranging from a subtle glow to a vibrant, fully illuminated display. Cycle through these levels to find the perfect setting for your gaming session. Lower brightness levels conserve battery life, extending playtime. Higher levels provide maximum visual impact.
Remember that the selected brightness level is retained even after powering off the controller. Experiment to discover your preferred setting and enjoy a personalized lighting experience. The dimmable Prismatic LED lighting offers a full color range, enhancing your gaming immersion.
Button Mapping and Configuration
The Afterglow Wireless Controller offers limited, but useful, button mapping capabilities to personalize your gaming experience. While not as extensive as some pro controllers, you can remap certain buttons through the Nintendo Switch system settings. Access the “Change Button Mapping” option within the Switch’s System Settings menu.
This allows you to reassign functions to buttons, catering to your preferred playstyle. Experiment with different configurations to optimize control for specific games. Keep in mind that button mapping is system-wide, affecting all games played on the console while the profile is active.
Unfortunately, dedicated software for advanced customization isn’t available for this controller. However, the built-in Switch functionality provides a degree of personalization. Regularly check for Nintendo Switch system updates, as they may introduce expanded controller configuration options in the future.
Turbo Functionality: Setup and Use
The Afterglow Wireless Controller incorporates a turbo function, enabling rapid button presses with sustained hold. This is particularly useful in games requiring repeated actions, like shooting or special attacks. To activate turbo, press and hold the desired button simultaneously with the dedicated “Turbo” button located on the controller’s face.
A status indicator light will confirm turbo activation for that specific button. Once activated, holding the button will trigger continuous, rapid presses. To deactivate turbo for a button, repeat the process – press and hold the button with the Turbo button again. The indicator light will turn off, signifying deactivation.
The turbo function operates independently for each button, allowing customized rapid-fire settings. Experiment with different buttons to find optimal configurations for various game genres. Note that turbo functionality may not be supported or function correctly in all games.
Motion Controls and Gyroscope Functionality
The Afterglow Wireless Controller fully supports Nintendo Switch’s motion control capabilities, utilizing a built-in gyroscope. This allows for intuitive, gesture-based gameplay in compatible titles, enhancing immersion and providing alternative control schemes. To utilize motion controls, ensure the controller is properly paired with your Nintendo Switch console.
Within supported games, motion controls are typically activated through the game’s settings menu. Once enabled, tilting and rotating the controller will translate into corresponding in-game actions. Experiment with different sensitivities to find a comfortable and responsive setting.
The gyroscope functionality is crucial for games like Mario Kart 8 Deluxe (steering) and various first-person shooters (aiming). Proper calibration may be required for optimal performance; refer to the game’s instructions for specific calibration procedures. Enjoy a more dynamic and engaging gaming experience with the controller’s motion control features!
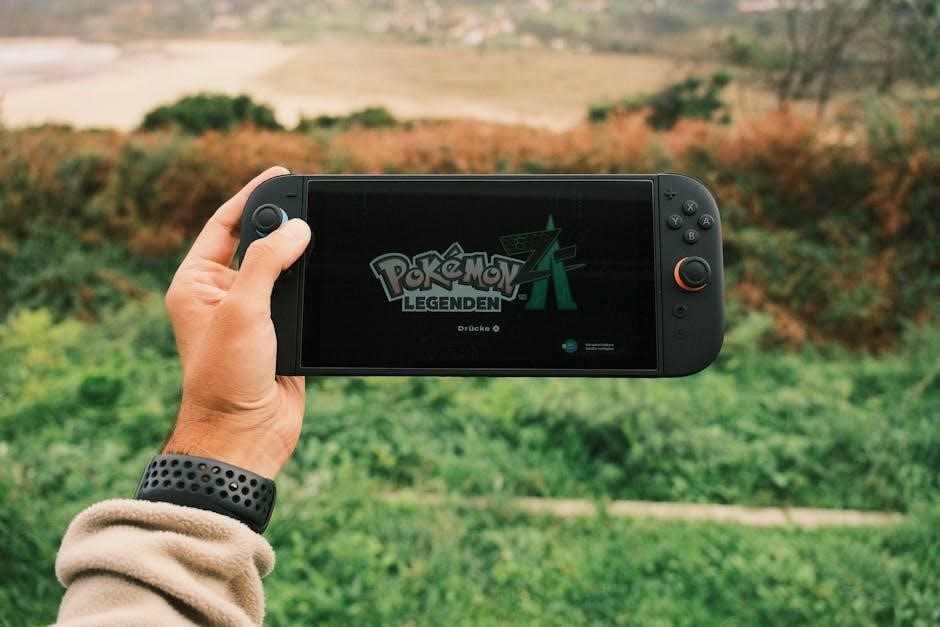
Using the Controller in Handheld Mode
The Afterglow Wireless Controller offers a versatile gaming experience, extending beyond traditional docked play. When using your Nintendo Switch in handheld mode, the controller can be paired and utilized as a secondary option for cooperative or competitive gameplay.
To connect, ensure the controller is in pairing mode (refer to the ‘Pairing the Controller with Nintendo Switch’ section). Navigate to the Switch’s controller settings and follow the on-screen prompts to add the Afterglow controller as a player. Once connected, the controller functions identically to Joy-Cons, providing full control over in-game actions.
This is particularly useful for games supporting local multiplayer, allowing a second player to join the fun without needing additional Joy-Cons. Remember to charge the controller regularly for uninterrupted handheld gaming sessions. Enjoy extended play and comfortable control options while on the go!

Using the Controller in Docked Mode
When your Nintendo Switch is docked and connected to a TV, the Afterglow Wireless Controller truly shines as a comfortable and feature-rich alternative to Joy-Cons or a Pro Controller. Pairing is the same as in handheld mode – ensure the controller is in pairing mode via the pairing button, then navigate to the Switch’s controller settings to connect.
In docked mode, the controller’s ergonomic design and enhanced button layout provide a more traditional gaming experience, particularly beneficial for longer play sessions. The customizable LED lighting adds a visually appealing element to your setup, creating an immersive atmosphere.
Take full advantage of the controller’s turbo functionality and motion controls for a competitive edge in supported games. Remember to maintain a stable wireless connection for optimal performance and enjoy a premium gaming experience on your big screen!
Troubleshooting Connection Issues
Experiencing connection problems with your Afterglow Wireless Controller? First, verify the controller has sufficient battery charge. Low battery can cause intermittent disconnections. If the issue persists, re-initiate the pairing process as outlined in the ‘Pairing the Controller’ section of this manual. Ensure no other wireless devices are causing interference.
Check the Nintendo Switch’s controller settings to confirm the Afterglow controller is recognized and connected. If it appears but isn’t responding, try resetting the controller by briefly pressing the reset button (location varies by model – consult the packaging).
Occasionally, restarting your Nintendo Switch can resolve connectivity glitches. If problems continue, move closer to the console to rule out range issues. Finally, ensure the controller’s firmware is up-to-date, if applicable, by checking the PDP website for updates.
Addressing Button Responsiveness Problems
If you’re encountering unresponsive buttons on your Afterglow Wireless Controller, begin by ensuring the controller is clean and free of debris. Dust or grime can interfere with button presses. Gently clean around the buttons with a soft, dry cloth. Avoid using liquids.
Next, check for any accidental button mapping configurations. Navigate to the Nintendo Switch’s controller settings and verify that the button layout is standard. If turbo functionality is enabled for a specific button, disable it to see if that resolves the issue.
A controller reset can often fix sporadic responsiveness. Locate the reset button (refer to packaging) and briefly press it. If the problem persists, test the controller with a different game to determine if the issue is game-specific. Contact PDP support if responsiveness remains inconsistent.
Low Battery Indicator and Solutions
The Afterglow Wireless Controller features a visual low battery indicator – typically a flashing LED light. The color and pattern of the flash will vary, but it signals an immediate need to recharge. Ignoring this indicator can lead to the controller powering off mid-game.
To address a low battery, connect the controller to a USB power source using the included cable. A solid LED light usually indicates charging is in progress. Allow sufficient time for a full charge; this may take several hours. Avoid using the controller while it’s charging, as this can potentially slow down the charging process.
If the controller isn’t holding a charge, or the battery indicator is malfunctioning, try a different USB cable and power adapter. If the problem continues, contact PDP customer support for assistance, as the battery may need replacement.
Controller Reset Procedures
Occasionally, the Afterglow Wireless Controller may experience connectivity issues or unresponsive buttons. A reset can often resolve these problems. There are typically two reset methods available.
Soft Reset: Disconnect the controller from the Nintendo Switch and any USB power source. Press and hold the small reset button (often located near the USB port) for 5-10 seconds using a small, non-metallic object like a paperclip. Reconnect and attempt pairing again.
Factory Reset (if available): Some models may offer a factory reset option through a button combination. Consult the full manual for specific instructions, as this varies by model. A factory reset will erase any custom button mappings or lighting configurations.
If a reset doesn’t resolve the issue, ensure the controller’s firmware is up-to-date. Contact PDP support if problems persist after attempting both reset procedures.
Cleaning and Maintenance
To ensure the longevity and optimal performance of your Afterglow Wireless Controller, regular cleaning is recommended. Always disconnect the controller from the Nintendo Switch and any power source before cleaning.
Use a soft, dry cloth to wipe down the exterior of the controller. For stubborn dirt or grime, lightly dampen the cloth with water, ensuring no liquid enters the controller’s internal components. Avoid using harsh chemicals, abrasive cleaners, or solvents, as these can damage the plastic and internal circuitry.
Pay particular attention to cleaning around the buttons and analog sticks. Compressed air can be used to remove dust and debris from these areas. Store the controller in a cool, dry place when not in use, away from direct sunlight and extreme temperatures.
Regular maintenance will help keep your Afterglow controller functioning smoothly for years to come.
Warranty Information and Support
PDP (Performance Designed Products) offers a limited warranty against defects in materials and workmanship for the Afterglow Wireless Controller. The standard warranty period is 90 days from the date of purchase. Proof of purchase is required for all warranty claims.
This warranty does not cover damage caused by accidental drops, misuse, unauthorized modifications, or normal wear and tear. To initiate a warranty claim, please visit the PDP support website at https://support.pdp.com/. You will find detailed instructions and a contact form for submitting your request.
For additional support, including FAQs, troubleshooting guides, and downloadable resources, also explore the online support portal. PDP’s customer support team is available to assist with any questions or concerns you may have regarding your Afterglow controller. Retain your purchase receipt for warranty service.
Safety Precautions and Warnings
Important Safety Information: To ensure safe and enjoyable use of your Afterglow Wireless Controller, please read the following precautions carefully. Avoid exposing the controller to extreme temperatures or humidity. Do not disassemble or attempt to repair the controller yourself, as this will void the warranty and may cause damage.
Keep the controller away from liquids and avoid using it with wet hands. Prolonged use may cause discomfort; take frequent breaks. This product is not intended for use by young children without adult supervision. Dispose of the controller and batteries responsibly, following local regulations for electronic waste.
Do not drop or impact the controller, as this can damage internal components. Clean the controller with a soft, dry cloth. Avoid using harsh chemicals or abrasive cleaners. Failure to follow these safety guidelines may result in injury or damage to the controller and your Nintendo Switch console.
Frequently Asked Questions (FAQ)
Q: My controller won’t connect. What should I do? Ensure the controller is charged and in pairing mode. Check your Nintendo Switch’s Bluetooth settings. Restarting both the controller and the console often resolves connection issues.
Q: How do I reset the controller? A small reset button is located on the controller; use a pin to press and hold it for five seconds. This will restore the controller to its factory settings.
Q: Can I use this controller in handheld mode? Yes, the Afterglow Wireless Controller can be used in both docked and handheld modes with your Nintendo Switch.
Q: What do the LED lights indicate? The LED lights display the controller’s status, battery level, and selected lighting mode. Refer to the ‘LED Lighting Customization’ section for details.
Q: Where can I find more support? Visit the PDP website for additional troubleshooting tips, FAQs, and warranty information. Contact their customer support team for personalized assistance.