Braun Coffee Maker User Manual: A Comprehensive Guide
Welcome! This detailed guide unlocks the full potential of your Braun Coffee Maker, offering a seamless brewing experience and ensuring years of flavorful enjoyment.
This manual provides essential instructions, safety guidelines, and maintenance tips for optimal performance, starting today, December 24, 2025, at 5:19:59 PM.
Congratulations on choosing a Braun Coffee Maker! We are confident that this appliance will become an integral part of your daily routine, delivering consistently delicious coffee with ease and reliability. This manual serves as your comprehensive resource, guiding you through every aspect of operation, from initial setup to long-term maintenance.
Braun is renowned for its commitment to quality, innovation, and user-friendly design. Your new coffee maker embodies these principles, offering a blend of advanced features and intuitive controls. Whether you prefer a simple, straightforward brew or a programmed start-time for a fresh pot upon waking, this machine is designed to meet your needs.
Please take the time to carefully read this manual before using your coffee maker for the first time. Understanding the safety precautions and operating instructions will ensure optimal performance and longevity. As of today, December 24, 2025, at 5:19:59 PM, you’re embarking on a journey to perfect coffee brewing!
Important Safety Instructions
Read all instructions carefully before operating your Braun Coffee Maker. To reduce the risk of fire, electric shock, or injury, always follow these essential safety guidelines. Never immerse the appliance, cord, or plug in water or other liquids. Avoid operating the coffee maker with a damaged cord or plug, and discontinue use immediately if any malfunction occurs.
This appliance is intended for household use only. Do not use outdoors. Always ensure the coffee maker is placed on a stable, heat-resistant surface. Keep the appliance out of reach of children. Allow the coffee maker to cool completely before cleaning.
Caution: Hot surfaces! Avoid touching hot parts during and immediately after brewing. Use caution when handling hot coffee. As of December 24, 2025, at 5:19:59 PM, prioritizing safety ensures a pleasurable coffee experience.
Parts Identification
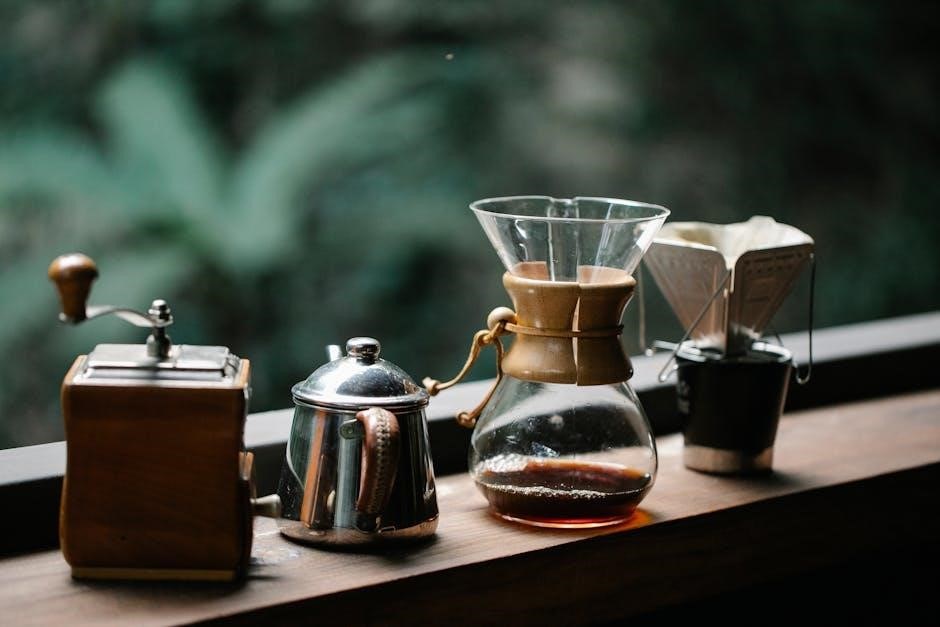
Familiarizing yourself with the components of your Braun Coffee Maker is crucial for proper operation and maintenance. Key parts include the Water Reservoir, responsible for holding the brewing water; the Filter Basket, where the coffee grounds are placed; and the Carafe, which collects the brewed coffee.

Other essential components are the On/Off Switch, initiating the brewing process; the Control Panel, featuring programmable settings; and the Warming Plate, keeping the coffee warm after brewing. The Lid secures the water reservoir, while the Water Level Indicator allows for precise filling.
Refer to the detailed diagram (found in the following section) for a visual representation of each part as of December 24, 2025, at 5:19:59 PM. Understanding these parts will enhance your overall brewing experience.
Key Components Overview
The Braun Coffee Maker boasts several key components designed for optimal brewing. The Brew Group is the heart of the system, responsible for heating and dispensing water. The Heating Element rapidly heats the water to the ideal brewing temperature. A Pump efficiently draws water from the reservoir.
The Valve System controls water flow, ensuring consistent saturation of the coffee grounds. The Carafe Sensor detects the presence of the carafe, preventing spills. The Electronic Controls manage the brewing process and programmable features.
These components work in harmony to deliver a rich and flavorful coffee experience, as of December 24, 2025, at 5:19:59 PM. Proper understanding of these elements aids in troubleshooting and maintaining peak performance.
Diagram of Braun Coffee Maker Parts
Please refer to the accompanying illustration for a detailed visual guide. Key parts are labeled for easy identification. (1) Water Reservoir – Detachable for convenient filling. (2) Filter Basket – Holds the coffee filter and grounds. (3) Brew Group – The central brewing unit. (4) Carafe – Glass or thermal container for brewed coffee.
(5) Control Panel – Features buttons for power, programming, and brewing. (6) Heating Element – Located within the brew group. (7) Pump – Draws water from the reservoir. (8) Valve System – Regulates water flow.
This diagram, accurate as of December 24, 2025, at 5:19:59 PM, assists in understanding the coffee maker’s internal workings and facilitates proper maintenance and troubleshooting. Familiarize yourself with these components for optimal use.
Before First Use: Preparation & Cleaning
Prior to your first delightful brew, thorough preparation is essential. Carefully unpack your Braun Coffee Maker and remove all packaging materials. Inspect for any visible damage that may have occurred during shipping. Wash the carafe, filter basket, and removable parts with warm, soapy water. Rinse thoroughly and dry completely.
Next, perform a cleaning cycle without coffee grounds. Fill the water reservoir to its maximum capacity with fresh, clean water. Place the empty carafe into position. Run a full brewing cycle to flush out any manufacturing residue. Discard the water.
This initial cleaning, performed on December 24, 2025, at 5:19:59 PM, ensures a pure and flavorful coffee experience from the very beginning. Repeat the cleaning cycle if necessary.
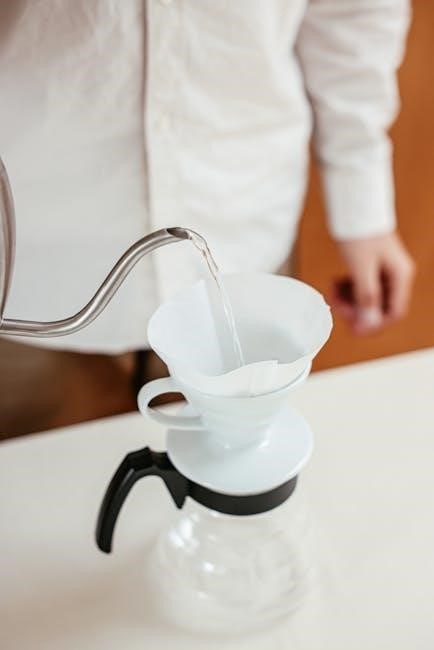
Operating Instructions: Brewing Coffee
Brewing exceptional coffee with your Braun Coffee Maker is simple! Begin by ensuring the unit is plugged in. The current date and time are December 24, 2025, at 5:19:59 PM. First, carefully fill the water reservoir with the desired amount of fresh, cold water, observing the level markings.
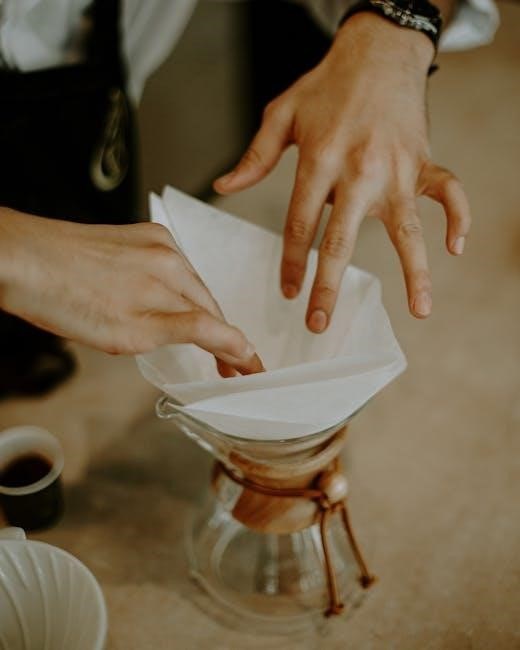
Next, add your favorite coffee grounds to the filter basket. Use a paper filter or the reusable filter provided. The recommended coffee-to-water ratio is typically two tablespoons per six ounces of water, but adjust to your preference.
Close the lid securely and place the carafe on the warming plate. Press the power button to initiate the brewing cycle. Enjoy the aroma as your coffee brews!
Filling the Water Reservoir
Proper water reservoir filling is crucial for optimal brewing. As of December 24, 2025, at 5:19:59 PM, ensure your Braun Coffee Maker is unplugged before handling the reservoir. Locate the water reservoir, usually at the rear or side of the machine.
Remove the reservoir and open the lid. Fill it with fresh, cold water to the desired level, using the clearly marked water level indicators on the reservoir itself.
Avoid overfilling, as this can cause overflow during brewing. For precise measurements, use a measuring cup. Once filled, carefully reinsert the reservoir back into the coffee maker, ensuring it’s securely in place before proceeding.
Always use filtered water for the best-tasting coffee and to minimize scale buildup.
Adding Coffee Grounds
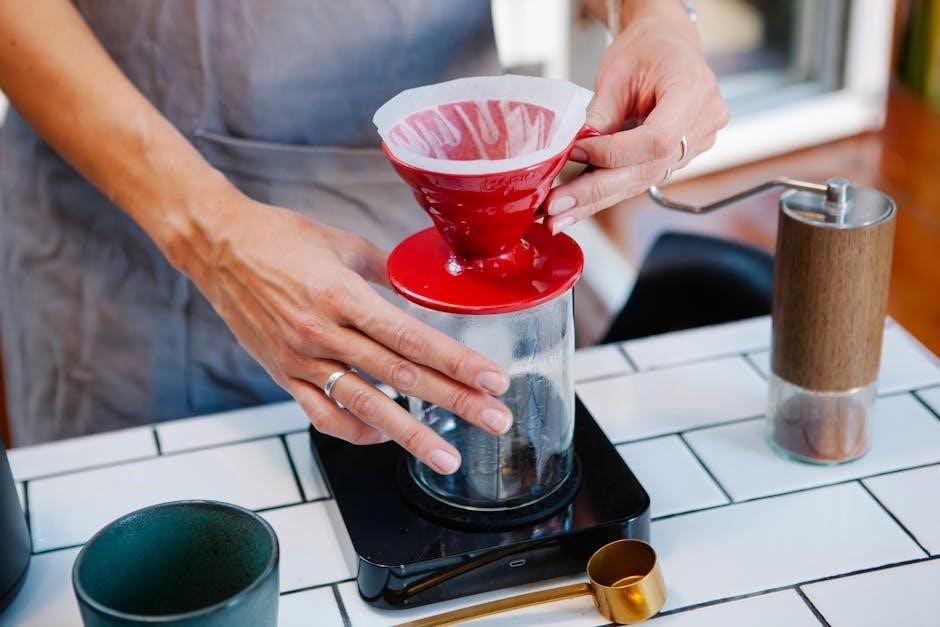
Achieving the perfect brew starts with the right amount of coffee grounds. As of December 24, 2025, at 5:19:59 PM, locate the filter basket within your Braun Coffee Maker. Insert a paper filter (size and type specified in the ‘Parts Identification’ section) into the basket.
Add ground coffee to the filter, using approximately one to two tablespoons per six ounces of water – adjust to your preferred strength.
For best results, use medium-ground coffee. Avoid using overly fine grounds, as they may clog the filter. Ensure the grounds are evenly distributed within the filter.
Close the filter basket securely. Double-check that no grounds are spilling over the edges before initiating the brewing cycle. A consistent coffee-to-water ratio guarantees a consistently delicious cup.
Starting the Brewing Cycle
With the water reservoir filled and coffee grounds in place (as of December 24, 2025, 5:19:59 PM), you’re ready to begin brewing! Ensure the carafe is correctly positioned on the warming plate; This is crucial for proper operation and to prevent spills.
Locate the power button – typically marked with a power symbol – on your Braun Coffee Maker. Press the button firmly to initiate the brewing process.
The machine will now automatically heat the water and begin dripping it through the coffee grounds. A light indicator will illuminate, signaling that brewing is in progress.

Allow the brewing cycle to complete fully. Do not interrupt the process. Once finished, the machine will automatically switch to the warming mode, keeping your coffee at an optimal temperature.
Programmable Features & Settings
Your Braun Coffee Maker, as of December 24, 2025, 5:19:59 PM, offers convenient programmable features to customize your coffee experience. These settings allow you to wake up to freshly brewed coffee or enjoy a hot cup at any desired time.
Explore the control panel for buttons labeled “Clock,” “Timer,” or “Program.” These controls access the programmable functions. The specific layout may vary depending on your model, so consult the diagram in the ‘Parts Identification’ section.
Utilizing these features requires initial setup. Setting the correct time is paramount for accurate timer operation. The timer function enables you to schedule brewing in advance, ensuring coffee is ready when you are. Refer to the dedicated sections for detailed instructions on setting the clock and utilizing the timer.
Setting the Clock
Accurate timekeeping is crucial for the programmable features of your Braun Coffee Maker (as of December 24, 2025, 5:19:59 PM). To set the clock, locate the “Clock” button on the control panel. Press and hold this button until the hour display begins to flash.
Use the “Hour” and “Minute” buttons (or corresponding arrow buttons) to adjust the current time. Ensure you select the correct AM or PM designation. Some models may require a separate button to confirm your selection.
Once the desired time is displayed, press the “Clock” button again to save the setting. The display will stop flashing, indicating the clock is successfully set. A correctly set clock is essential for the timer function to operate as intended, providing freshly brewed coffee when you desire.
Using the Timer Function
The timer function allows you to schedule your coffee brewing in advance (current date/time: December 24, 2025, 5:19:59 PM). First, ensure the clock is accurately set. Then, press the “Timer” button. The display will likely prompt you to set the desired brewing start time.
Use the “Hour” and “Minute” buttons to input the time you want the coffee maker to automatically begin brewing. Confirm your selection by pressing the “Timer” button again. An indicator light will illuminate, confirming the timer is activated.
Remember to fill the water reservoir and add coffee grounds before activating the timer. The coffee maker will automatically start brewing at the programmed time, delivering fresh coffee precisely when you want it. To cancel the timer, simply press the “Timer” button once more.
Cleaning and Maintenance
Regular cleaning ensures optimal performance and longevity of your Braun Coffee Maker (as of December 24, 2025, 5:19:59 PM). Daily cleaning involves rinsing the carafe, filter basket, and any removable parts with warm, soapy water after each use. Avoid abrasive cleaners, as they can damage the surfaces.
Periodically, you’ll need to descale your coffee maker to remove mineral buildup. This is crucial for maintaining brewing temperature and coffee flavor. Use a commercially available descaling solution, following the product instructions carefully.
A typical descaling cycle involves running a solution of descaler and water through a full brewing cycle, followed by two cycles of fresh water to rinse thoroughly. Refer to the “Descaling Your Coffee Maker” section for detailed steps. Consistent maintenance guarantees years of delicious coffee!
Daily Cleaning Procedures
Maintaining your Braun Coffee Maker daily (current date: December 24, 2025, 5:19:59 PM) is simple and vital for optimal performance. After each brewing cycle, immediately discard used coffee grounds and rinse the filter basket thoroughly with warm water. The carafe should also be washed with warm, soapy water and rinsed completely.
Ensure all removable parts are cleaned before reassembling. Avoid using abrasive cleaning pads or harsh chemicals, as these can scratch or damage the surfaces. A soft sponge or cloth is recommended. Wipe down the exterior of the coffee maker with a damp cloth to remove any spills or splatters.
Regular daily cleaning prevents buildup and ensures your coffee always tastes fresh and flavorful. This simple routine extends the life of your appliance.
Descaling Your Coffee Maker
Descaling (as of December 24, 2025, 5:19:59 PM) is crucial for maintaining your Braun Coffee Maker’s performance. Mineral buildup from water can affect brewing time and coffee taste. We recommend descaling every 3 months, or more frequently if you have hard water.
Mix a descaling solution (available commercially, or use a mixture of white vinegar and water – follow solution instructions) and pour it into the water reservoir. Run a full brewing cycle without coffee grounds. Repeat with fresh water 2-3 times to rinse thoroughly, ensuring no descaling solution remains.
Proper descaling ensures optimal brewing temperature and prevents damage to internal components. Ignoring this step can void your warranty. Refer to the warranty information for details.
Troubleshooting Common Issues
As of December 24, 2025, 5:19:59 PM, here’s help with common Braun Coffee Maker problems. Coffee maker won’t turn on: Check the power cord and outlet. Coffee brews too slowly: Descale your machine (see maintenance section). Coffee tastes weak: Use more coffee grounds or a finer grind. Ensure proper water-to-coffee ratio.
Coffee maker leaks: Ensure the carafe is properly positioned. Check for cracks in the reservoir. Error message on display: Consult the full user manual for specific error code definitions. If issues persist, contact customer support.
Regular maintenance and proper usage will minimize these problems. Always refer to the safety instructions before attempting any repairs. Do not disassemble the unit yourself.
Warranty Information & Customer Support

Effective December 24, 2025, your Braun Coffee Maker is covered by a one-year limited warranty against defects in materials and workmanship. This warranty does not cover damage resulting from misuse, accidents, or unauthorized repairs. Proof of purchase is required for all warranty claims.
For warranty service or customer support, please visit our website at [insert website address here] or contact our dedicated customer care team at [insert phone number here]. Our representatives are available Monday through Friday, 9 AM to 5 PM EST.
Please have your model number and date of purchase ready when contacting support. We are committed to providing excellent customer service and ensuring your satisfaction with your Braun Coffee Maker. Detailed FAQs and troubleshooting guides are also available online.